
 The ME-163A is often considered the little brother of the ME-163 Komet. However, this little brother was quite a bit more than that. It served as both trainer and armament test bed, and it’s rounded contours provide a distinct counterpoint to the harsh angularity of the Komet. Currently in 1/72nd scale, the only injection molded version comes from Condor.
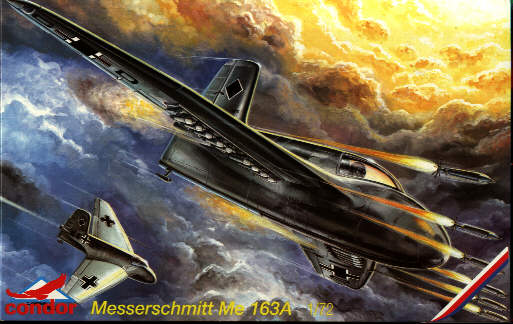
Source: Condor models Scale: 1/72nd
Appearance: Light grey styrene, single clear canopy, decals for two versions, a small sheet of photo-etch and a single two sided instruction sheet.
Assembly: This kit builds like a dream. The photo-etch is limited and easy to work with, making it an excellent
introduction to this aspect of modelling.
1) A simple interior with seat, photo-etch belts, pedals, and instrument panel facing. An acetate set of instruments glues behind the panel. Add the control stick and the interior is done.
2) Paint the upper fuselage decking and the wing/lower fuselage assembly their respective base colors. Glue them together. Since the sanding is around the outside edge your work is easy. The only potential problem here is that you might need to do some very minor filling and sanding here. Touch up and finish your paint job. Note: all colors are given as RLM references.
3) Landing gear and finals: The takeoff trolley is an easily folded piece of photo-etch with a few plastic parts. Add the wheels and you are done with it. The last bits of photo-etch are a royal pain in the ass. These are the microscopic control arms for the ailerons and rudder. They have an almost overwhelming tendency to lay down flat, so you will need both cyanoacrylate glue, accelerant and a third hand to handle these bits. To make this task even more enjoyable, you have to make sure they line up on opposite sides. Have fun. Finally, glue the tail skid in place.
4) Add the decals and semi-gloss coat. Paint and Futurize the canopy.
5) The under-wing rockets are all individual pieces which are glued to the wooden (yes, wooden) under-wing racks. Check the rockets alignment to keep a nice even row, glue the racks under the wing, add the canopy and you’re done!
Summary: A nice, easy to build kit that contrasts with its’ warrior brother. It serves as a nice introduction to photo-etch work, just watch out for those linkages!
Review by Tom “the Beemaster” Stead