
 Description: High quality injection model
Scale: 1/35
Price MSRP: $69.00
Contents and Media: 510 injection molded parts/44 photo-etch parts/decals
Advantages: Very detailed model of British World War 2 armored car, full interior, multiple variants to choose from.
Disadvantages: Some confusion in the instructions: unclear where some parts go, other parts mis-numbered, painting instructions for parts, not camouflage, not clear; photo-etch can be difficult to work with. Some fit issues.
Recommendation: Highly Recommended
History (from Wikipedia):
The Associated Equipment Company (AEC) of Southall, Middlesex, was a manufacturer of truck and bus chassis and its Matador artillery tractor was used for towing medium field 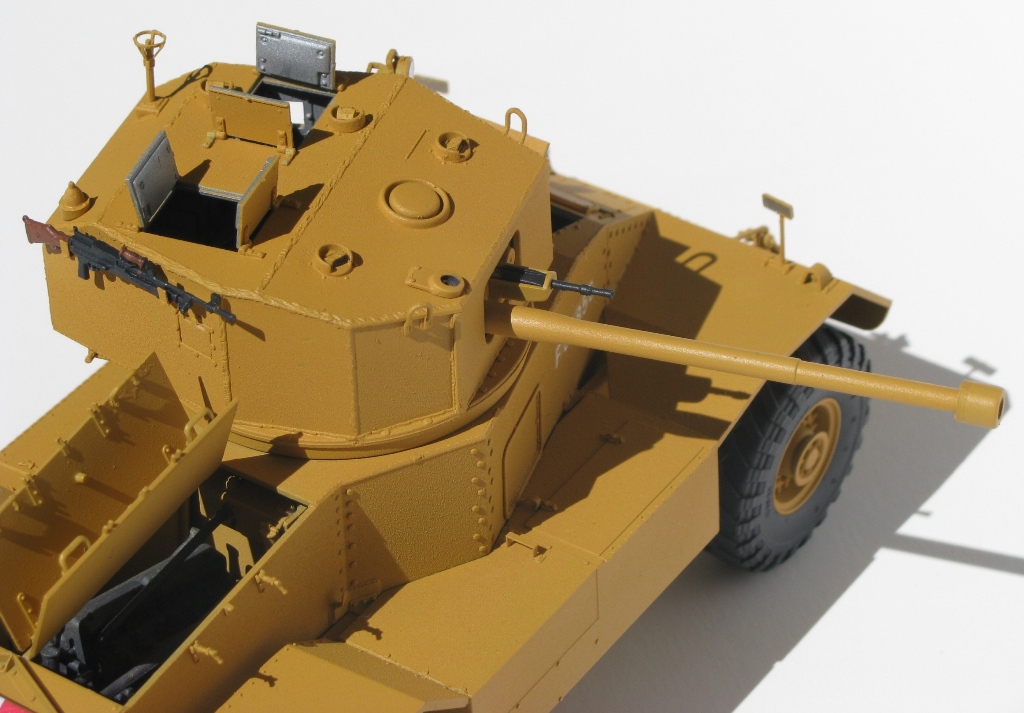 and heavy anti-aircraft guns. The armored car based on the Matador chassis was developed initially as a private venture and shown to officials in 1941 during Horse Guards Parade in London, where it made a favorable impression on Churchill. 629 units were produced in 1942-1943.
AEC tried to build an armored car with firepower and protection comparable to those of contemporary tanks. The first version carried a Valentine Mk II turret with 2 pounder gun. Subsequent versions received more powerful armament – a 6 pounder or a 75 mm gun. The vehicle also carried two machine guns, smoke grenades discharger and No. 19 radio set.
The Mk I was first used in combat in the North African Campaign late in 1942, where a few vehicles were reportedly fitted with a Crusader tank turret mounting a 6 pounder gun. The Mk II / Mk III took part in the fighting in Europe with British and British Indian Army units, often together with the Staghound.
The vehicle remained in service after the end of the war until replaced by the Alvis Saladin. The Lebanese Army used the car at least until 1976.
The Model:
Having already released an AEC Mk I armored car with the Valentine turret, MiniArt now releases the Mk II with a new turret housing a more powerful main gun.
 The model comes in an attractive, sturdy box, with striking artwork of a camouflaged Mk II in Indian Army Markings on the cover. Upon opening the box, you’ll find it stuffed to the lid with parts. On the bottom of all these parts is are the decals, the photo-etch parts and the instruction booklet.
The parts are, for the most part, crisply done, with some minor flash here and there. Detail abounds and there are numerous small parts, almost as if MiniArt said “look how small I can make THIS part!”
The model comes with a complete – and I mean COMPLETE – interior. There are ammo stowage boxes,radios, periscopes, springs for the hatches, a complex driver’s seat, steering wheel and connecting rods to the steering, some of which go through the hull and connect to the axles and transmission on the outside of the hull!
The painting instructions call for an aluminum/silver interior. Some internet research shows that by the time AEC started manufacturing the Mk II, the interiors were most probably white. But, as this was an out of the box build for Model Rectifier Corporation (they provided the kit), I followed the kit instructions.
Construction is pretty straight forward, but as mentioned in the top of the review, the instructions – while nicely drawn – are not always clear. This includes several parts being mislabeled and some parts having an arrow that vaguely points to where they are supposed to go. This led to a few parts having to be moved after being glued (but luckily 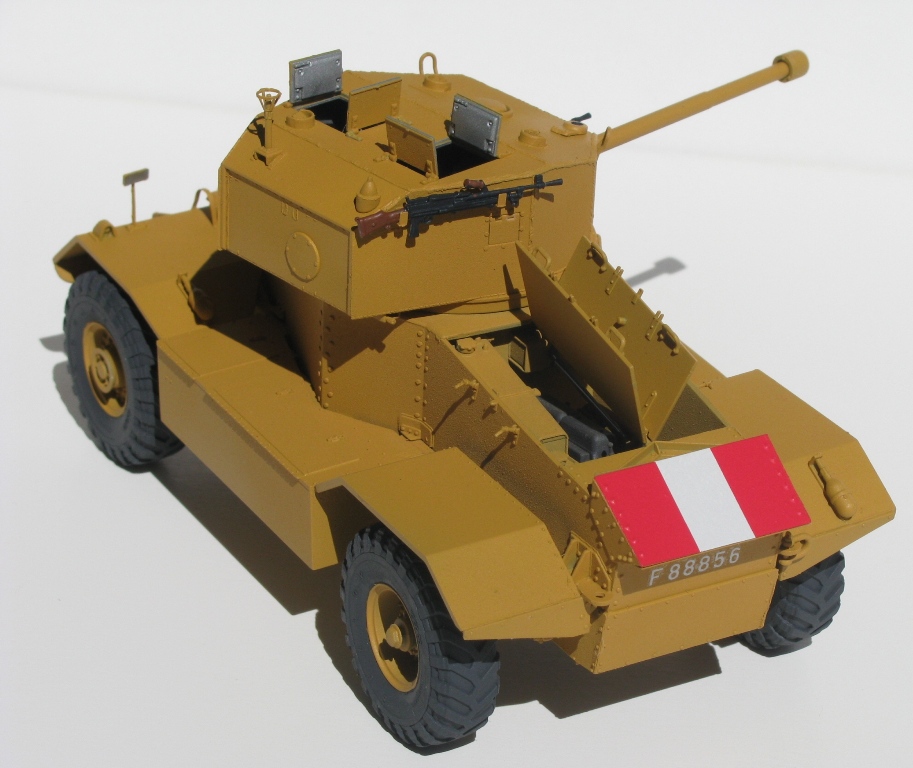 before drying) to the correct spot.
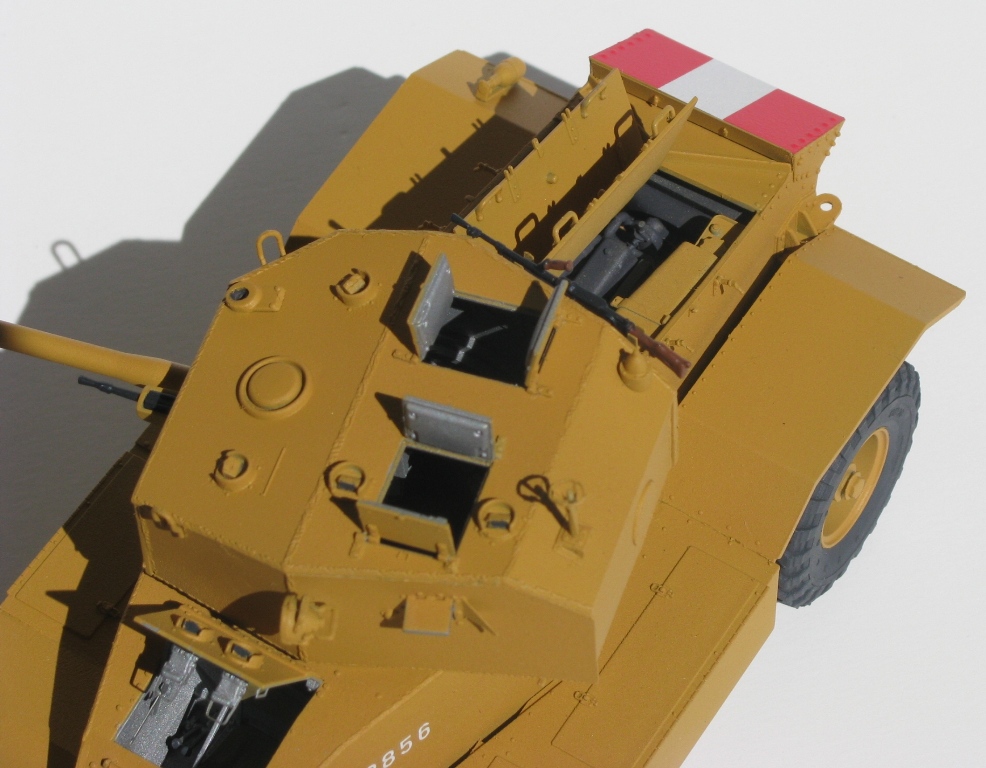
Once the interior and engine compartment was done, I glued the top of the hull on. This was one of the few times I needed some filler. I left the hatches off for easy of painting, but this did cause me some grief later on when trying to install the springs and bars that kept them propped open (I wanted to have all the hatches open as MRC was using this on the hobby manufacture show circuit).
The turret interior is as complex as the inside of the hull, with even more detail packed in. The periscopes – for both hull and turret – are clear parts, which I found to be a little brittle and difficult to see to add the photo-etch brackets too. In the end, they seemed to turn out okay. The front plate of the turrets seemed not to want to fit, but I was finally able to manhandle it into place by holding the front and sides together while they dried, using liquid cement to speed up the process.
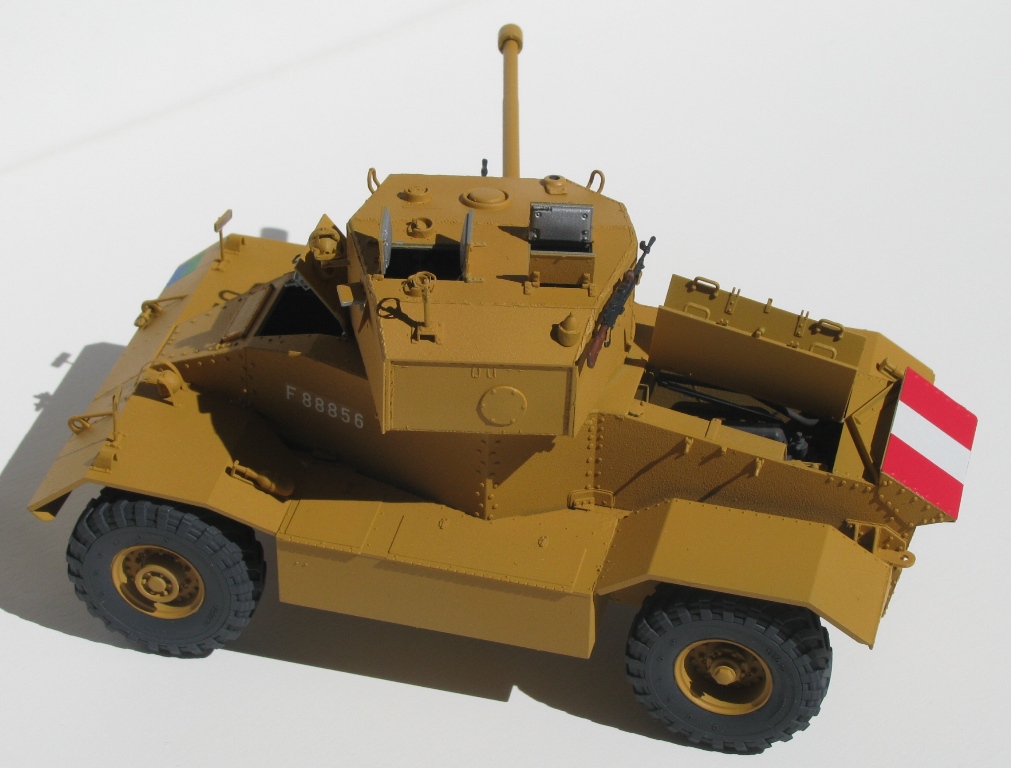
I had wanted to finish the model in one of the striking two tone schemes, but as I had a deadline – and a 10 day family vacation that started right after I received the model – I opted to paint the model an overall “sand” color of a British unit serving in the Middle East.
 The decals – especially the serial numbers – silvered a little, but I chalk this up to some grainy paint that spit out of my airbrush when I sprayed a final coat onto the model.
I received the model in late June and delivered right after Labor Day, 2013. So it took me about six weeks to build. That’s lightning fast for me, but, as I said, I was on a deadline. Still, I really enjoyed building this kit. While it has some minor fit issues, some confusion with the instructions, and is not a “shake and bake” Tamiya kit, it’s still a high quality product that will give you hours of enjoyment. Highly recommended!
-Martin J. Quinn
November 2013